Set up PromptMail in ChatGPT (Developer Mode)
This guide shows how to add PromptMail as a ChatGPT App/Connector so you can send emails from inside ChatGPT. It follows OpenAI’s Developer Mode guidance here: Developer Mode guide.
What you’ll need
- A Gmail account accepted for the beta (once you’re invited, sign in to PromptMail in your browser and complete Google OAuth).
- A ChatGPT Pro, Plus, Business, Enterprise, or Education account (Developer Mode eligibility).
1) Connect your Gmail account to PromptMail
In a regular browser tab, sign in to PromptMail and connect Gmail. This ensures PromptMail has the Google tokens it needs to send email.
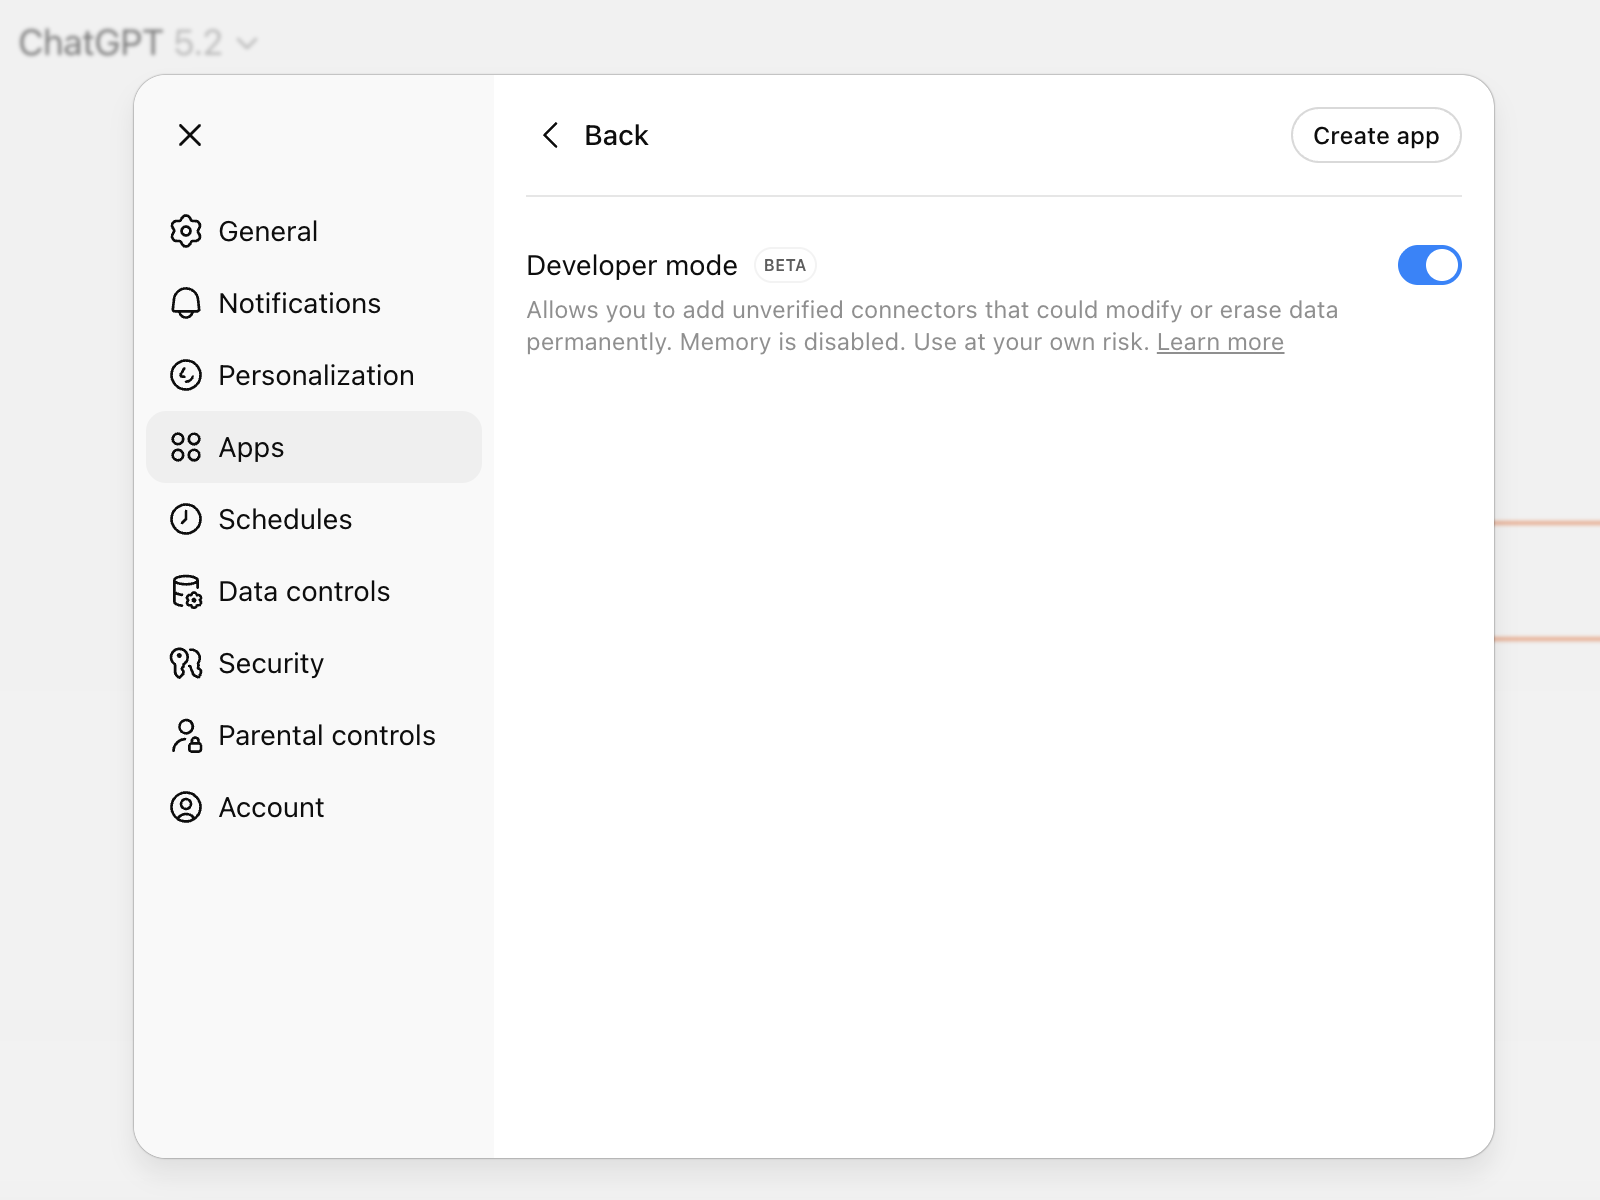
2) Enable Developer Mode in ChatGPT
In ChatGPT, turn on Developer Mode so you can add custom Apps backed by an MCP server. Per OpenAI’s guide, go to Settings → Apps → Advanced settings → Developer mode. (If your UI differs, follow the official steps here:) platform.openai.com/docs/guides/developer-mode.
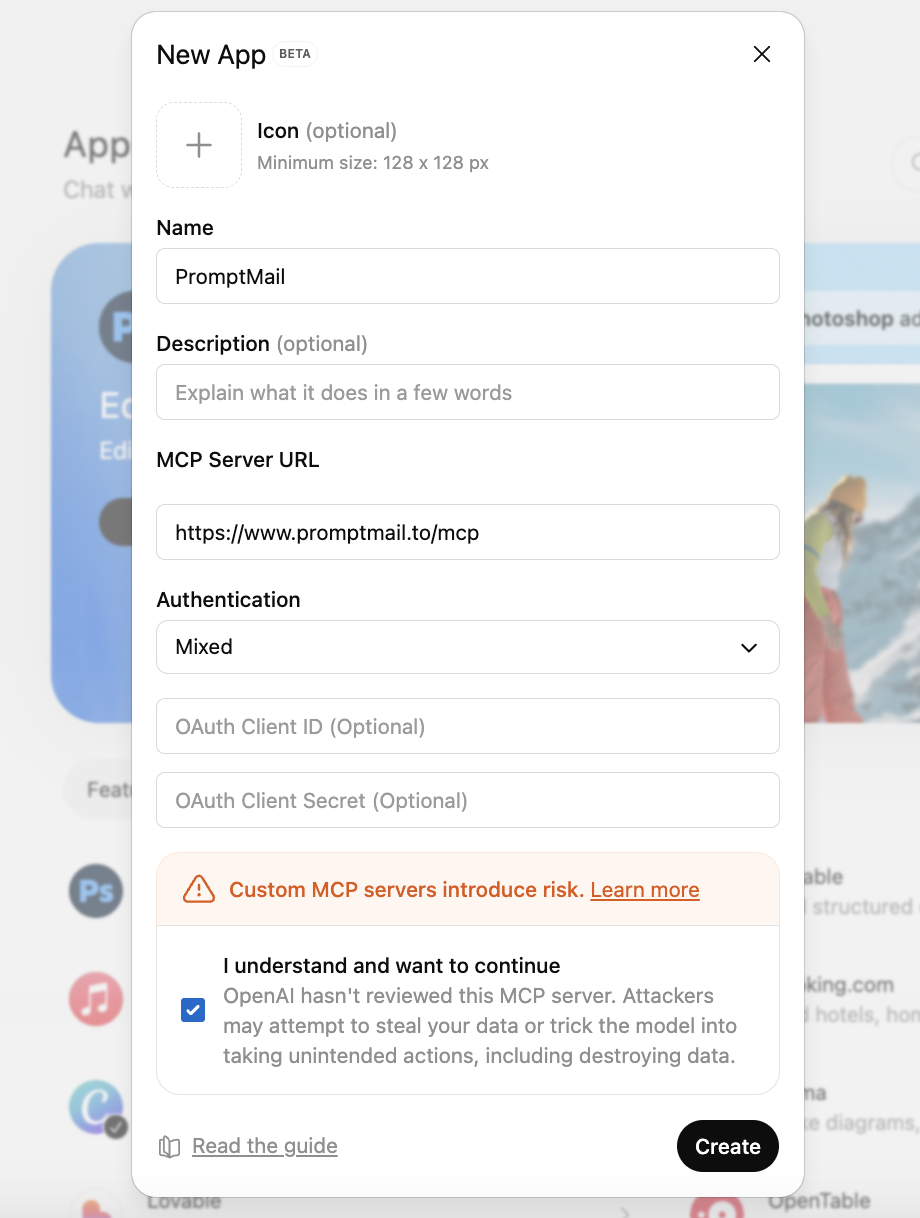
3) Add PromptMail as an App/Connector
In ChatGPT’s Apps settings, click Create app (next to Advanced settings) and enter:
Enter these values
- Name
- PromptMail
- MCP server URL
- https://www.promptmail.to/mcp
- Authentication
- Mixed
4) Authorize when prompted
The first time ChatGPT uses PromptMail, it will prompt you to connect/authorize. Complete the sign-in and consent flow in the PromptMail window, then return to ChatGPT and retry your request.
Try it: example prompts
In a ChatGPT conversation, open the Plus menu, choose Developer mode, and select your PromptMail app for that chat.
Send a welcome email
Send a welcome email to alice@example.com with the subject "Welcome to our team".
Get latest email from a sender
Get the latest email from alice@example.com within the last 7 days.
Reply to an email
Reply the email with a thank you message.